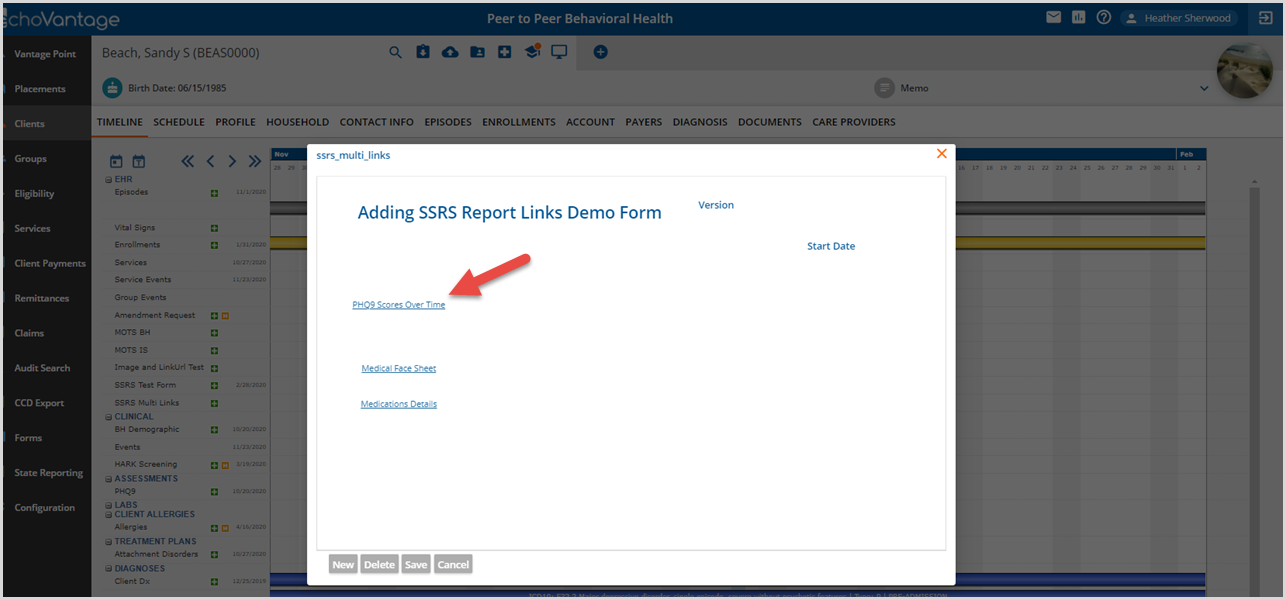
Users can add multiple SSRS report links, or truly any URL link, to a Form DesignEHR form and include data elements via token replacement. This functionality is included in the core EV library, so no custom library is required. This Quick Reference Guide provides detailed steps to create and add these multiple links to an existing form and also assumes the user is comfortable working with the Designer Tools - Palette and Properties.
Requirements
- EchoVantage version 3.20 or higher
- Form DesignEHR version 6.0.27 or higher*
*Echo recommends using the most recent version of Form DesignEHR compatible with your version of EchoVantage. Echo's Azure Tools page helps determine the correct Form DesignEHR version, http://webhelp.echoehr.com/azure-tools. Self-hosted customers can find the correct version of Form DesignEHR in the EchoVantage Upgrade .zip file found on Echo's Extranet Site.
Overview
The multiple links were built on the existing ssrsURL and reportLink link pairs by adding a suffix, ssrsURL_(suffix) and reportLink_(suffix). These new links must be matching pairs and are case-sensitive, for example,
- ssrsURL_1 and reportLink_1
- ssrsUrl_medDetails and reportLink_medDetails
The original pair combination is still supported, so additional links can be added to a form that has an existing report link. The form Events method, jdesilibcore.Application.buildSsrsUrls (plural) should be used when a form contains multiple links as this allows both the original links and the new links.
Configuration
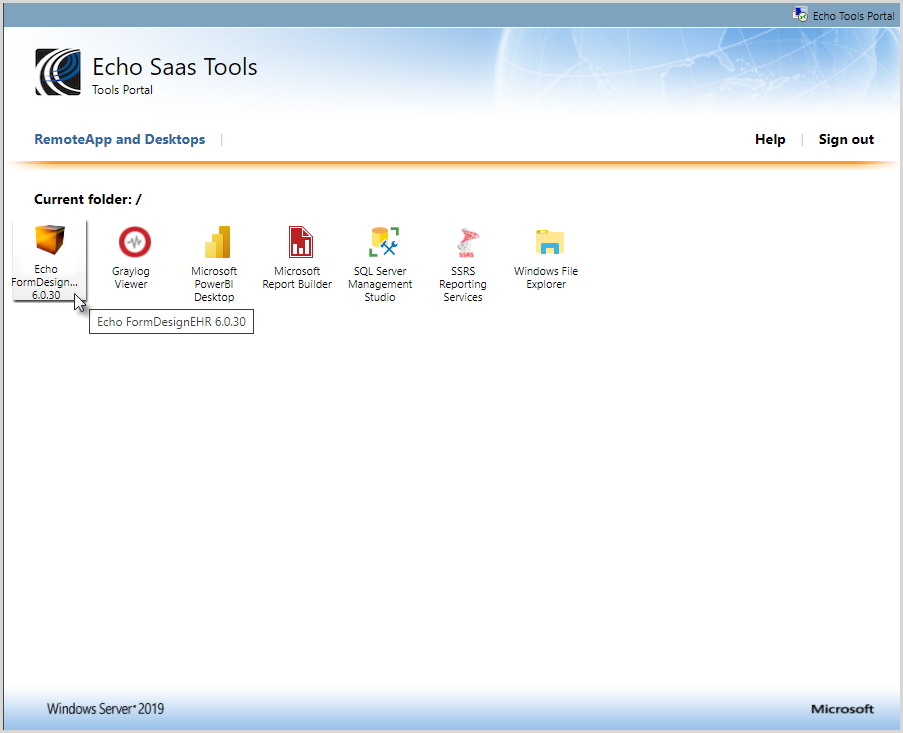
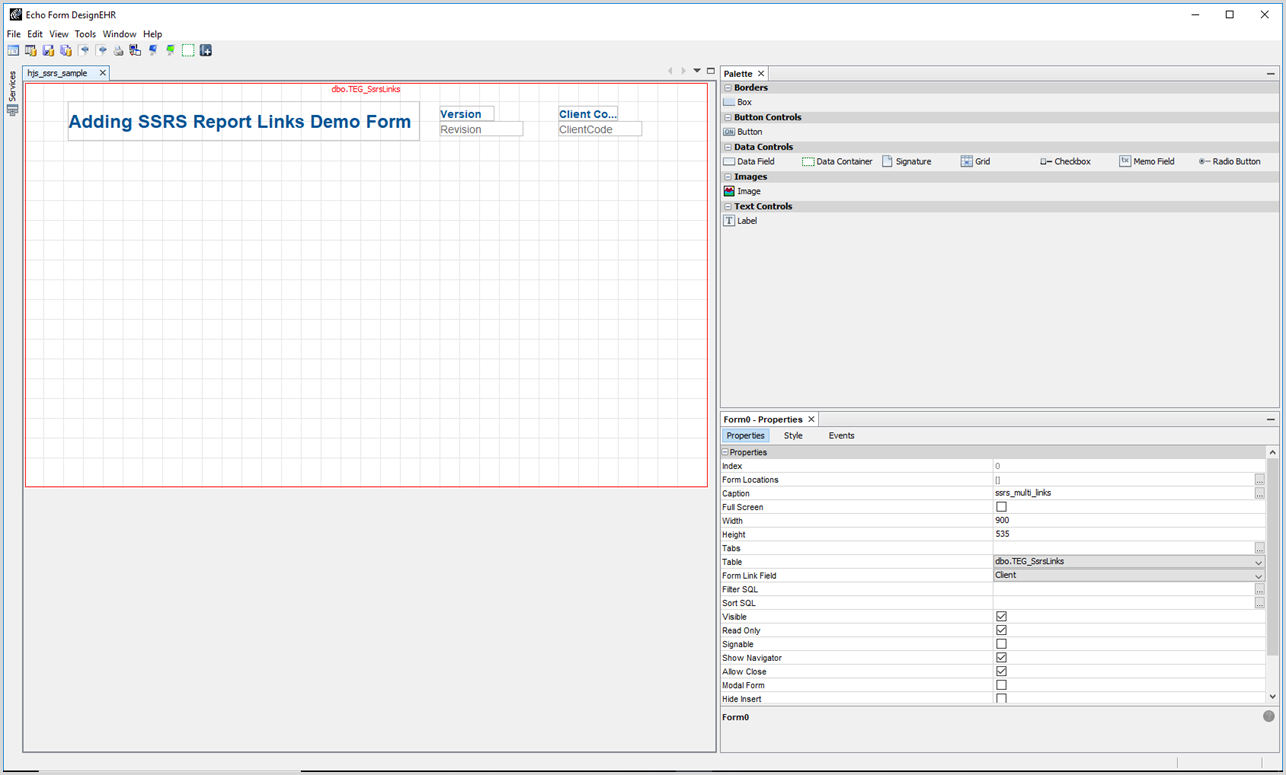
Get started by logging into Form DesignEHR and verifying that the correct databases are referenced in Tools > Options > Database Setup. Then, open the form that will contain the added links.
1. Add a Label to the form.
-
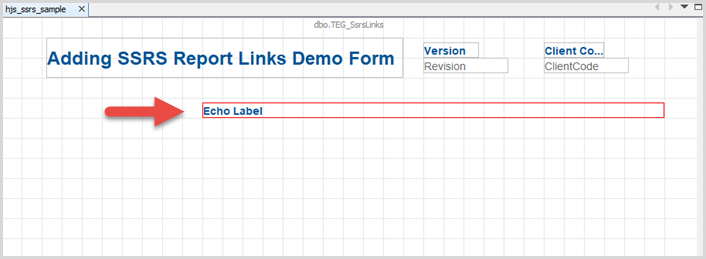
- Change the Properties Name to ssrsUrl.
- Subsequent report links must use ssrsUrl_(suffix) for the Label Name where (suffix) is user-defined.
- The _(suffix) is required on all but the default (first) link.
- The suffix is alphanumeric, so anything goes as long as the suffix in the pairs match.
- The matching pair is the Button named, reportLink or reportLink_(suffix) as covered in Step 2.
- Remove the checkmark next to Visible.
-
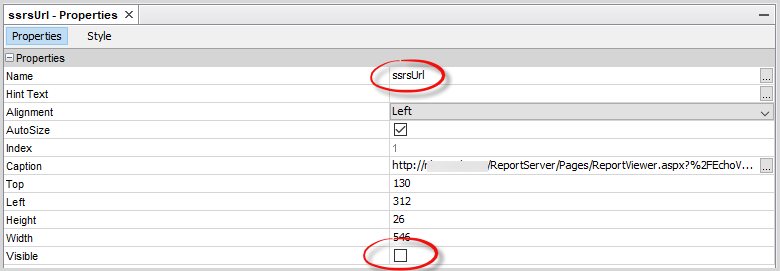
- In the caption, enter the URL to the report.
- The URL can be found by launching the desired report from EchoVantage and copying the URL from the new tab that opens.
- If your agency is SaaS-hosted and you are linking to a custom report that is in the CUSTOM folder that is located outside of the EchoVantage folder on the report server, find the URL by
- Navigating to Echo's Azure Tools at https://aztools.echoehr.com/RDWeb and logging in
- Select SSRS Reporting Services (you may need to enter credentials again)
- Change the URL from http://saaswssrs1.echoehr.com/Reports/browse/ TO http://saaswssrs1.echoehr.com/ReportServer/
- Find and select the desired report
- Copy the URL and replace saaswssrs1.echoehr.com portion with your agency's lookup key for example, http://PeertoPeerBH.echoehr.com/ReportServer....
-

- If you have selected a report that already has the User Id Parameter applied, your UserId is in the URL. Update this as follows.
- Locate UserId Parameter, it is likely after the database name.
- For example, &userId=201904010625027889DF8284C82184EAFBF2
- Replace the id, in bold above, with {appUserId}
- If the User Id Parameter should not be applied, simply delete the parameter starting with the ampersand '&'
- Then append the name of any desired Report Parameter(s) to the URL of the report ensuring that the value within the curly brackets is the Data Field component Name for that Parameter.
- A partial URL is shown below; the server and database name have been removed, which has the User Id Parameter and two report parameters.
-

- The portion in blue contains
- The base URL
- The report path in the report server
- The render command
- The portion in purple is the appUserID parameter.
- The portions in orange are the appended Report Parameters.
- Open the Report rdl file in Microsoft's Report Builder to view the Parameter names.
-

- The portion in black is the value that is passed from the Form DesignEHR screen.
- Remember, the value in the curly brackets must match the Data Field Component Name exactly.
- In the example below, the Data Field Component Name is Start Date NOT StartDate or VHRStartDate.
-

- If the Name value is not edited in the Data Field Component Properties, it defaults to the database column name.
-
2. Add a Button to the form.
- Change the Properties Name to reportLink.
- Subsequent report links must use reportLink_(suffix) for the Button Name where (suffix) is user-defined.
- The _(suffix) is required on all but the default (first) link.
- The suffix is alphanumeric, so anything goes as long as the suffix in the pairs match.
- The matching pair is the label named ssrsUrl or ssrsUrl_(suffix) as covered in Step 1.
- Enter a Caption for the button. The caption displays on the form button.
- Set the Button Type to URL Link.
- Place www.echobh.com in the URL Link.

3. Repeat Steps 1 and 2 to add additional Report Links. Remember to use the _(suffix) for each of the additional pairs. The example below shows two additional Report Links added to the form.
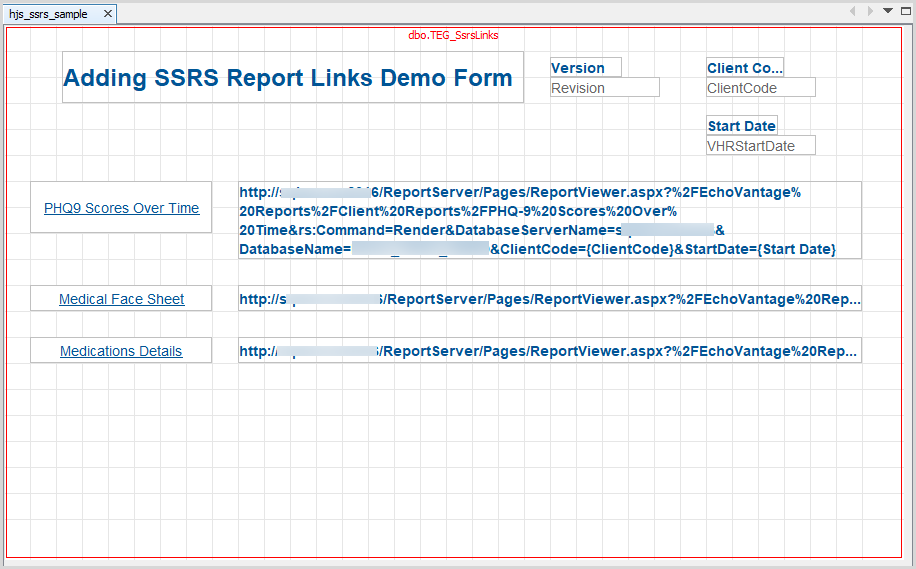
The Report Link pairs make use of the _(suffix) as shown below.
| Button Caption | Button Name | Label Name |
| Medical Face Sheet | reportLink_1 | ssrsUrl_1 |
| Medications Details | reportLink_medDetails | ssrsUrl_medDetails |
4. Finally, configure any ONE component to have jdesilibcore.Application.buildSsrsUrls on both the On Scroll Procedure and On Save Procedure Events. The image below shows this configuration done for the Client Code component.

The Report Links configuration is complete. Remember to select the appropriate Form Locations, i.e., Timeline, Devices, etc. When a user accesses the form, clicking on one of the buttons opens the linked report, or URL, in a new browser window.
