Introducing Per Diem Billing
The new Per Diem Billing feature allows billing of Date Range Services using an agency-created Template. These Date Range Services do not have a calculated unit but instead pull units directly from the number of days in the Service date range. Access to Per Diem Template management and Service creation is found on the Services screen by hovering over the blue plus “+.” The previous Per Diem action was renamed Census Billing to reflect its function more accurately. An overview for creating Per Diem Services is below, followed by detailed information for each step.

Create Per Diem Service Definitions
Create a Per Diem Service Definition in Configuration > Services/Payers > Service Definitions. The component combination on the Per Diem Service must match a Per Diem Service Definition.
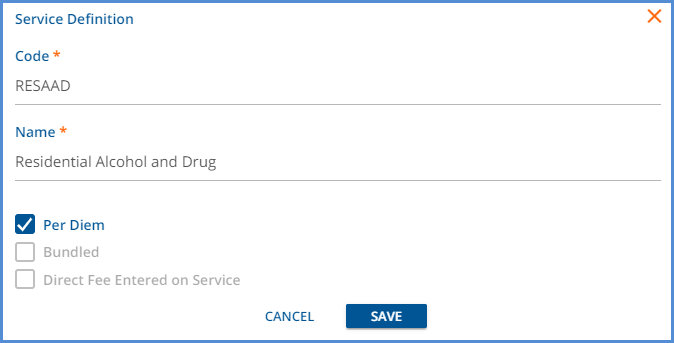
- Only Code and Name are required when adding a Per Diem Service Definition.
- The checkbox selections are mutually exclusive -- If Per Diem is selected, then Bundled and Direct Fee Entered on Service are disabled.
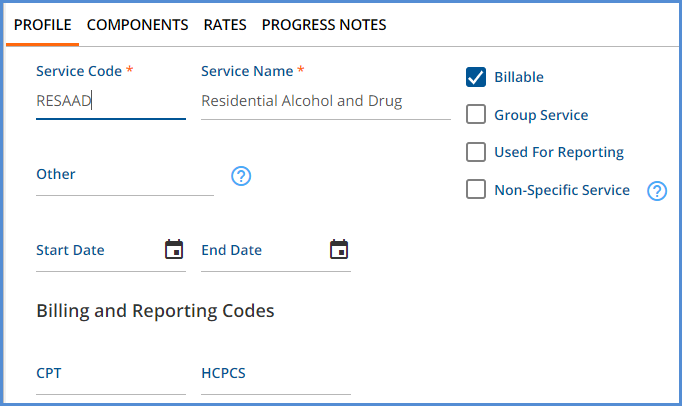
- The Profile screen does not have the Add On checkbox, Service Duration inputs, or Bundling Options.
- Component combinations do not have to be unique between Per Diem Service Definition and other types of Service Definitions because Per Diem Service Definitions are only valid for Per Diem Services.
- The Component Combinations that define a Per Diem Service Definition must be unique from other Per Diem Service Definitions.
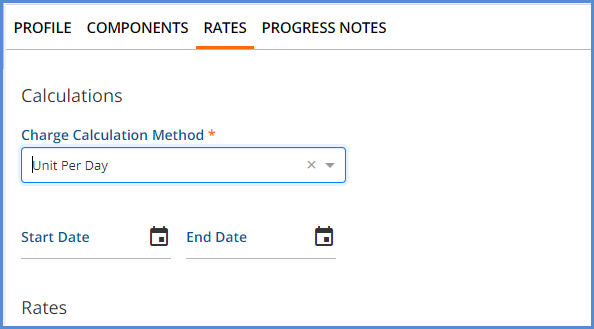
- The Charge Calculation Method drop-down only has two values on the Rates screen, Not billable to most payers and Unit Per Day.
- Because the Per Diem Service does not have a calculated unit but pulls the units from the numbers of days in the Service date range, the Unit Calculation inputs, Minimum Units, and Maximum Units are not needed or displayed.
- Payer-specific rates may also be defined in Configuration > Services/Payers > Payers > Rates for Per Diem Service Definitions.
Configure Timeline Depiction
A default timeline depiction is added for Per Diem Services to separate them from regular Services. The depiction is under the Per Diem Services header in Configuration > Client Chart > VHR Timeline > Category Depiction Manager.

No groups are assigned this depiction by default, so User Group access must be assigned in the Header Editor. Open the Header Editor by selecting the Per Diem Services Header.
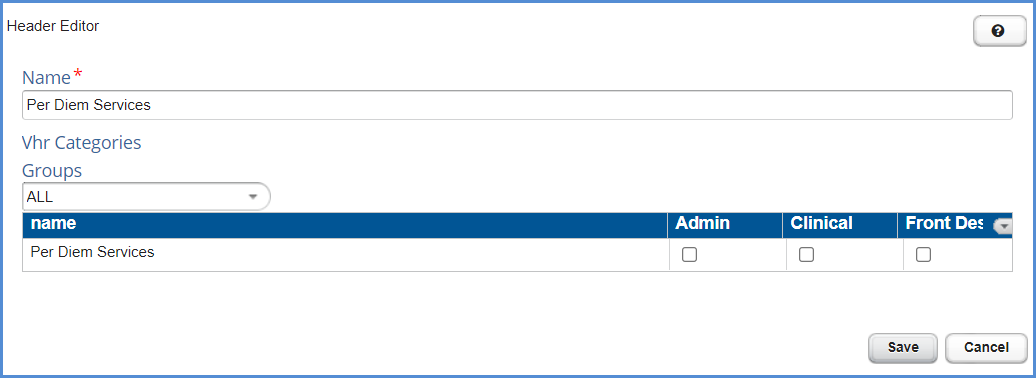
Any regular Service Categories should also be updated so that Per Diem Services are excluded from those depictions by filtering to Services where EndDate IS NULL.

Add Per Diem Templates
Per Diem Templates are added and managed in the Per Diem screen, accessed via the Per Diem button on the Services home screen. Navigate to the Services main menu option and hover over the blue plus “+” to display the Add Per Diem Service, Per Diem Billing, and Census Billing buttons.
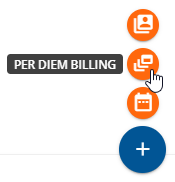
Select the PER DIEM BILLING button to display the Per Diem Templates screen.
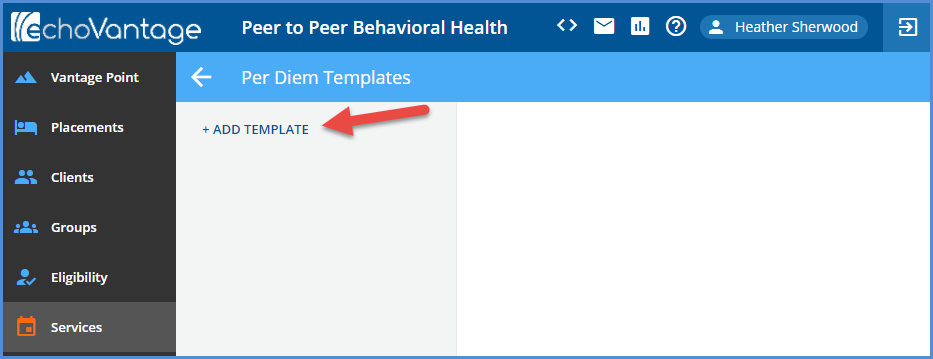
Then select the blue + ADD TEMPLATE button, enter a Template Name, and select SAVE to add a Per Diem Template. Currently, for all Per Diem Templates created, Services are reported as a Date Range.
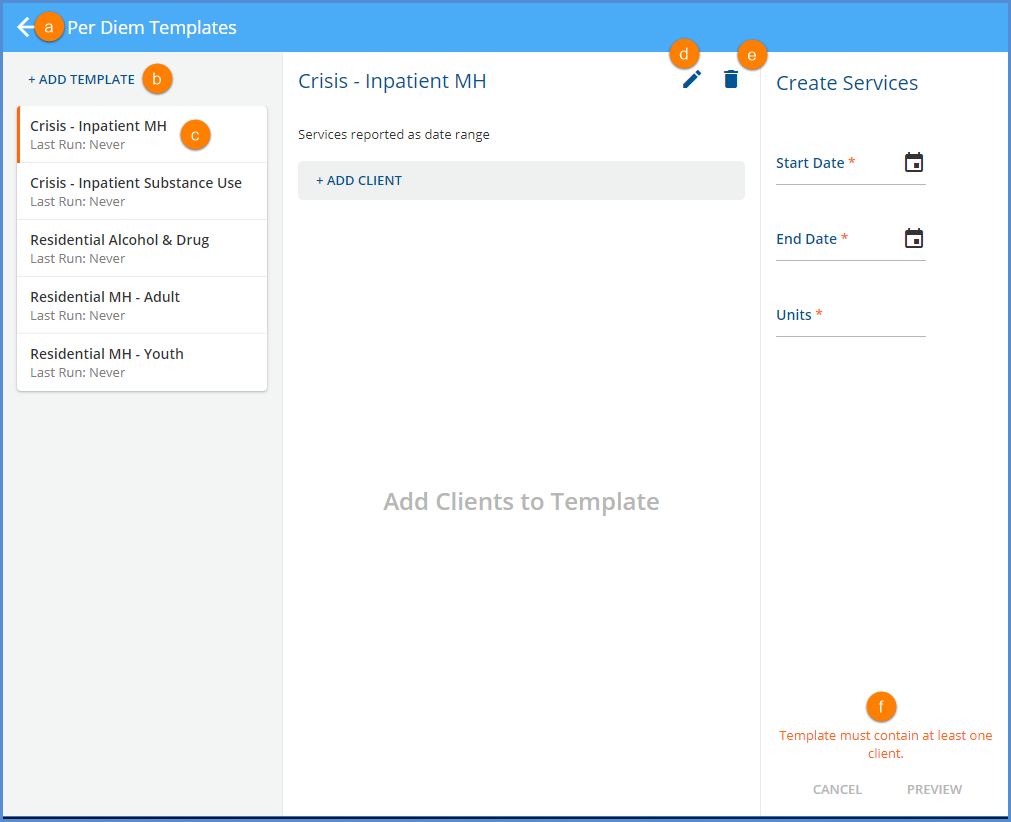
- (a) Use the blue + ADD TEMPLATE button again to create another Template. As Templates are added, they are added to the left-hand list and displayed in alphabetical order.
- (b) Select the left arrow in the upper left-hand corner to return to the Services screen.
- (c) The orange vertical bar indicates the currently selected Template.
- (d) Select the blue pencil icon to edit the name of the currently selected Template.
- (e) Select the blue trash can icon to delete the currently selected Template. Templates may be deleted at any time, either with or without Clients added.
- (f) A message displays indicating that the “Template must contain at least one client.” Templates must have Clients added before the Create Services CANCEL and Preview options are enabled.
Add Clients to the Per Diem Template(s)
Once a Template is created, Clients may be added by selecting the blue + ADD CLIENT button.

- The Add Client screen requires the Client and Staff fields, all required Service components, and a Client Diagnosis.
- The Diagnosis Start and End Dates, if present, are displayed in the drop-down list value.
- Select the Add Another box to preserve the Staff and component selections if adding more than one Client.
- Clients are not required to have the same component values.
- Note that the check for a valid Per Diem Service Definition does not take place until Service Preview.

- The client list is populated as Clients are added.
- Summary information (Client, Staff, and Component selections) is displayed.
- Select any row to edit that Client’s information. Note that the Client field is locked.
- Select the delete icon (blue trash can) to remove the Client from the template.
- The Last Run information is updated when Services are Created.
Preview and Create Services
After Templates are created and Clients are added, Services may be Previewed and Created for the selected Template.

- Enter values for Start Date, End Date, and Units. Note that the application auto-populates the third field if any two fields have values.
- Services may not be billed for more than 31 days (Units) at one time. The following on-screen warnings display
- End date beyond 31 days of start date.
- Units must be less than or equal to 31.
- Once the Date Range and Units are complete, the PREVIEW button is enabled. Select to display the Preview Services screen.

- The Services Preview displays in two groups - Services with problems and Services that pass the Validations.
- The validations on the Preview Services screen check that the component combination matches a Per Diem Service Definition.
- Use the left arrow next to Preview Services to return the Per Diem Templates screen.
- Use the delete icon (blue trash can) to remove a record from the Preview Services display. Delete removes the preview record only; the Client is still in the Template Client list.

- Click on the Units field to adjust the number of Services for that Client. The final number may not be less than one or greater than the number of days in the specified Date Range.
- All Services must pass validation before the CREATE button is enabled.
- Please Note - The Client Diagnosis is not validated. If the selected diagnosis is expired or invalid during any part of the Per Diem date range, a Service can still create but the diagnosis does not display on the Service entry form because the Client Diagnosis drop-down filters out inactive diagnoses.
- Select the Mark Services As Ready checkbox to Create Services with Ready status.
- Select the blue CREATE button to create the Services.
- If a Client does not have an active Episode, a Failed to create services error message displays.

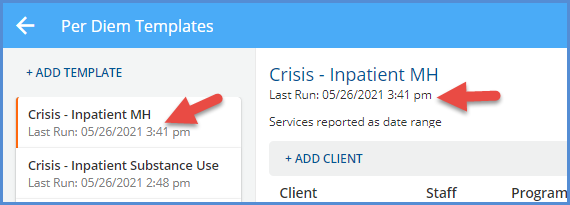
- After Services are created, the Last Run information is updated on the Template Card and Template.
Viewing Per Diem Services
Once Per Diem Services are created, they are available for viewing and editing in the Services screen. The Date field is expanded to show the Start Date, End Date, and Units.

On the individual Service screen, the Date and Time section only displays Start Date, End Date, and Units instead of Date, Start (time), End (time), and Duration.
| Per Diem Service |

|
| Service with Duration |

|
Per Diem Services in Fiscal Overview
Per Diem Services follow the same workflow for Charge and Bill creation through the Remittance process as Services by Duration. When viewing the job Details on the Unprocessed Services > Create Charges > History screen, the Duration/Units column displays the billing units for Per Diem Service definitions.

The Service Date (or Date) field was expanded to show the Date Range for Per Diem Services on the Create Bills, Claims, and Unapplied Payments screens. An example of the Claims screen for Client Sandy Beach is below.

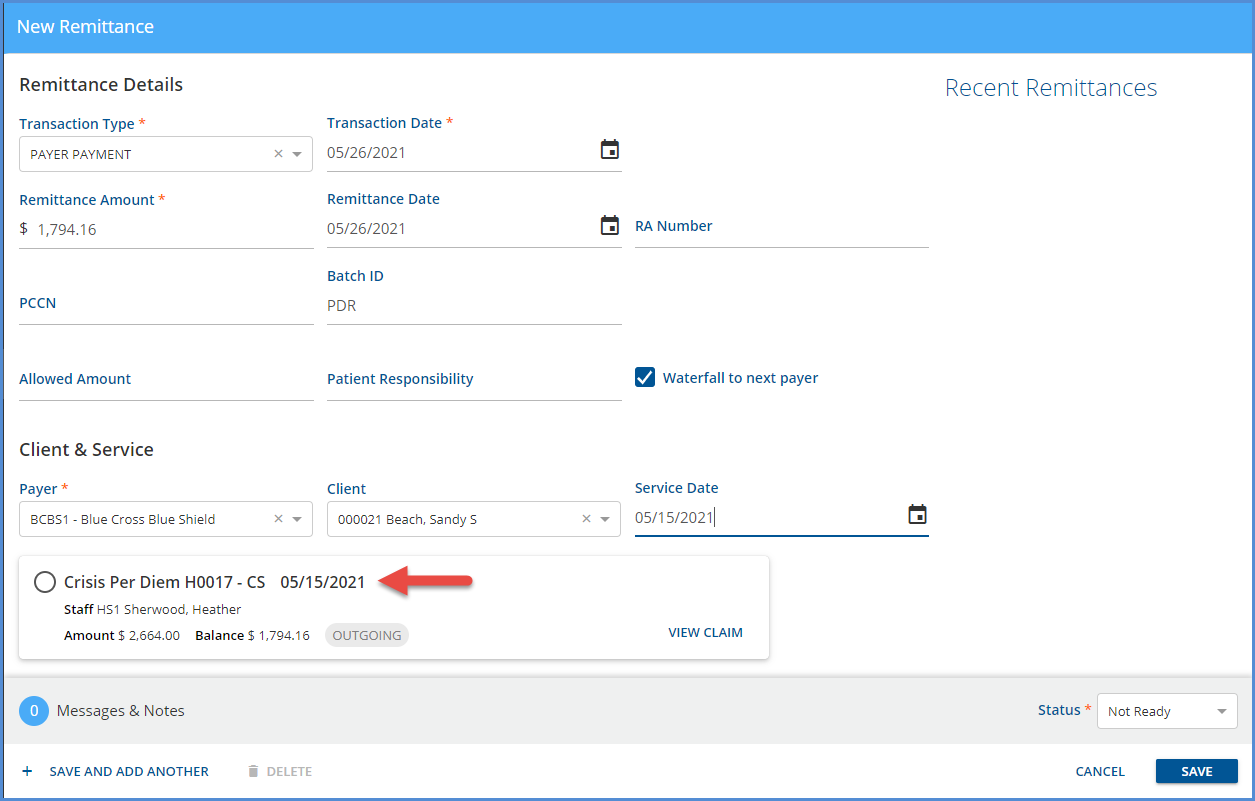
In Remittances, however, the Start Date of a Per Diem Service is used for the Service Date when processing payments and adjustments. A remittance for the Per Diem Service above, outlined in red, is shown in the image below.
